
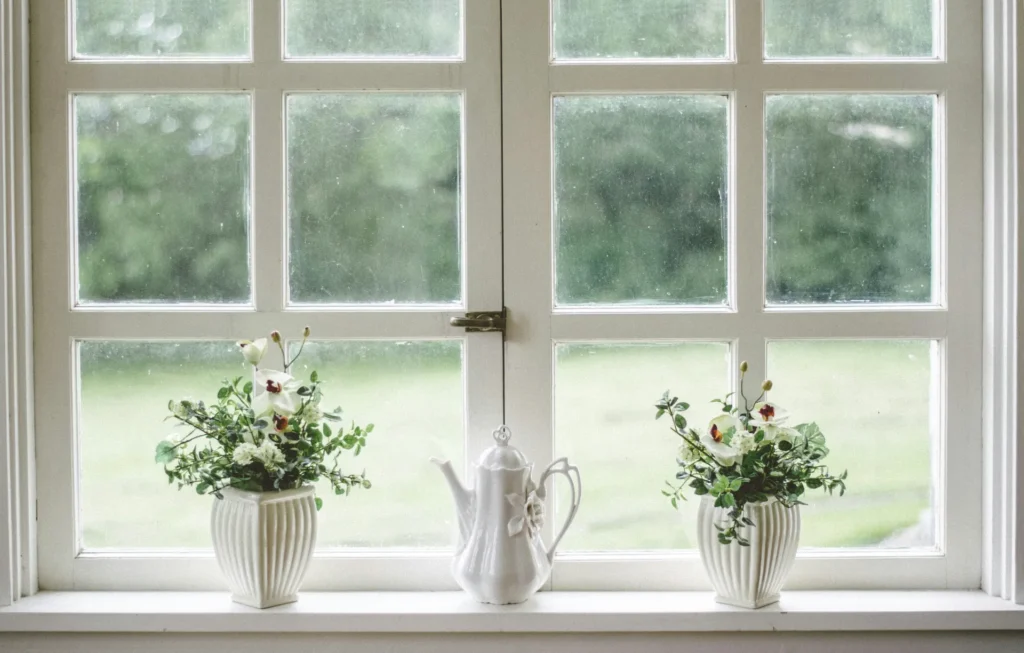
Clean windows make an enormous difference to how a home looks and feels, from both inside and out. Yet they’re one of those things people put off because the results are often frustrating: streaks, smears, and the same film that was there before, just redistributed.
Most of the time, the problem isn’t effort. It’s technique, tools, or timing.
Here’s exactly how to professionally clean your windows, including the specific tools they use, the solutions that actually work, and the adjustments that matter for homes near Geelong’s coast where salt air is constantly working against you.
The Number One Cause of Streaky Windows
Before getting into technique, let’s clear up the biggest myth: most people think streaks come from using the wrong cleaner. They don’t.
Streaks almost always come from:
- Wiping with the wrong material (paper towels and regular cloths leave fibres and lint)
- Cleaning in direct sunlight (the solution dries too fast before you can work it)
- Using too much cleaning solution (more soap = more residue = more streaks)
- Dirty tools (a grimy squeegee or cloth spreads dirt more than it removes it)
Fix those four things and you’ll eliminate 90% of streak problems before you’ve even changed your cleaning solution.
Streak Free Window Cleaning Tips
Want to know how professional window cleaners are doing it? They’re not using paper towels, newspaper, or spray bottles from the supermarket. Here’s what they actually use, and why.
Squeegee
The most important tool. A good squeegee with a sharp rubber blade removes solution cleanly in one pass without leaving moisture behind. Replace the rubber blade when it starts to leave small water trails even on a freshly cleaned pane: this is usually every 6–12 months for regular home use.
Microfibre cloths
Lint-free, absorbent, and gentle on glass. Use one for applying solution and a separate dry one for any final touch-up. Never use the same cloth for both, and wash your microfibre cloths without fabric softener (it coats the fibres and makes them less absorbent).
Scrubber or applicator sleeve
A window scrubber (a T-bar applicator with a microfibre sleeve) lets you apply solution evenly across the whole pane before squeegee work. It’s what professionals use instead of a spray bottle for anything larger than a small window. Much faster and more even.
Extension pole
For upper-storey windows or tall panes, an extension pole attached to a squeegee or scrubber lets you work from the ground safely. Ladder access for upper windows is where DIY window cleaning becomes a real safety risk.
A bucket with a small amount of solution
Just enough to load the scrubber. Not a bucket you’re dunking a sponge into.

The Best Window Cleaning Solution Tips
Professional window cleaners typically use one of two things:
- Option 1: Water + a few drops of dish soap
- A small amount of dish soap (half a teaspoon per litre of warm water) creates just enough slip for the squeegee to glide without leaving soap residue. More soap does not mean cleaner windows. It means more streaks.
- Option 2: Water + a small amount of white vinegar
- Equal parts water and white vinegar cut through grease and grime without leaving residue. It’s particularly useful for windows that have a build-up of cooking grease (interior kitchen windows) or salt film (coastal properties). The smell disappears quickly once dry.
Try to avoid ammonia-based glass cleaners, spray products with heavy fragrance, and anything that advertises a “streak-free shine” but leaves a glossy film. The film looks great on the first clean, and then attracts dust like a magnet.
How to Clean Windows Properly: Step by Step
This is the technique professional window cleaners use. It’s not complicated, but the order matters.
1. Start with the frame and sill
Clean the frame and window track before touching the glass. Dirt from the frame runs onto clean glass during cleaning if you leave it until last. Wipe with a damp cloth, get into the tracks with an old toothbrush or small brush, and dry before moving on.
2. Apply solution with the scrubber
Load the scrubber and apply solution to the whole pane in overlapping strokes. Make sure the glass is completely covered. This step loosens dirt across the full surface.
3. Squeegee from top to bottom
Start at the top corner and pull the squeegee across the pane in a straight horizontal stroke. Wipe the blade with a clean cloth after each stroke. Overlap each pass slightly to avoid leaving dry strips. Work down the pane.
4. Wipe the edges
A dry microfibre cloth run around the perimeter picks up any drips or missed water before they dry.
5. Check from an angle
Step to the side and look at the glass from an angle (not straight on). Streaks and spots show up much more clearly this way. Touch up with a dry microfibre cloth if needed.
Avoid cleaning in direct sunlight if you can. Morning or late afternoon is ideal. In Geelong in summer, the sun is strong enough to dry the solution on the glass before you’ve finished the pane, which is the main cause of smearing on a hot day.
Window Cleaning Hacks
For stubborn dried paint, mineral deposits, or hardened grime, a new single-edge razor blade held at a low angle (about 30 degrees) against wet glass can work wonders, just use it gently and only on flat, uncoated panes, never on tinted or textured glass.
You might also want to ditch the newspaper hack you’ve seen floating around older guides: it worked when ink was oil-based, but modern newspaper ink is water-based and just leaves residue, so microfibre is always the better call. If you have the choice, save your window cleaning for an overcast day too, no direct sun means the solution stays workable on the glass longer, giving you more control and better results.
And if your windows haven’t been touched in a while, use two buckets: one for your cleaning solution and one for rinsing the scrubber sleeve, so you’re not just spreading the same dirty water around.
The Geelong and Coastal Salt Air Problem
If you live near the water, on the Bellarine, the Surf Coast, or anywhere in coastal Geelong, you’ve probably noticed that windows seem to get dirty faster than they should, and that’s because they do.
Salt particles carried in sea air deposit on glass and combine with moisture and dust to create a hazy, sticky film. Standard glass cleaners don’t cut through it well. The vinegar solution mentioned above works better for salt film because the mild acid breaks down the mineral deposits. Coastal homes typically need window cleaning two to four times a year rather than the once-or-twice that works for inland properties.
Salt film also tends to build up more on windows facing the prevailing sea breeze. If you notice one side of your house looking hazier than the other, that’s usually why.
When You Should Call a Professional
DIY window cleaning works well for ground-floor windows on a single-storey home. There are situations where it makes more sense to call in professional window cleaning services.
- Upper-storey windows: Working from a ladder on upper windows is a safety risk, particularly on uneven ground or near rooflines. Professionals have the right extension poles, access equipment, and insurance.
- Large floor-to-ceiling or double-height panes: These require the right technique and tools to clean without leaving squeegee marks or uneven sections. Doing it wrong on a large feature window is very visible.
- Post-construction or renovation cleaning: Construction dust, paint spots, and silicone residue on glass require specialist products and techniques. Standard cleaning solutions won’t remove them without risking scratching the glass.
- When you just don’t want to: Sometimes the honest answer is that it’s a big job and the time isn’t there. A professional window cleaning service covers every pane, frame, track, and sill in a fraction of the time it takes to do it yourself.
Got stubborn windows or a property that needs professional window cleaning knowhow? The Vacmate team covers window cleaning across Geelong, the Bellarine Peninsula, and the Surf Coast. Call us on (03) 7050 2742 or email info@vacmate.com.au.